Garage Lighting for Collectors: How to See Swirls, Not Just Your Car
Your garage is more than a place to park—it’s where you inspect, clean, correct, and preserve your collector car. And yet, most garages have one thing in common: terrible lighting.
If you’re detailing under a single bulb or photographing your car under soft fluorescents, you’re missing imperfections—and opportunities. This guide breaks down how to upgrade your garage lighting like a pro, using Amazon-available products that make swirl spotting and serious detailing possible.
(Affiliate links below. These are collector-approved and enthusiast-tested.)
Why Lighting Matters for Car Care
- Paint correction visibility: You can’t polish what you can’t see. Proper lighting shows swirl marks, high spots in ceramic coating, and sanding haze.
- Detailing precision: Clean seams, emblems, wheels, and vents with accuracy.
- Photography and resale: Great lighting flatters your car in photos—especially if you’re listing or documenting it.
Start with the Base: Ceiling and Wall Lights
Barrina LED Shop Light 8-Pack (5000K Daylight White)
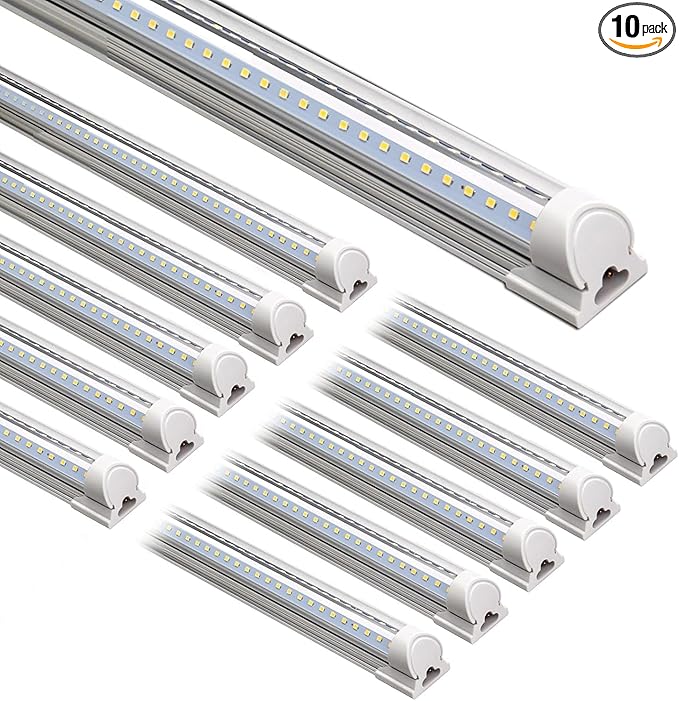
Why it’s essential: Affordable, easy to install, and delivers a crisp 5000K color temperature—the same used in detailing shops. Mount them parallel along the ceiling and angled down the side walls for maximum coverage.
Hykolity LED Wraparound Garage Fixtures (Flush Mount)
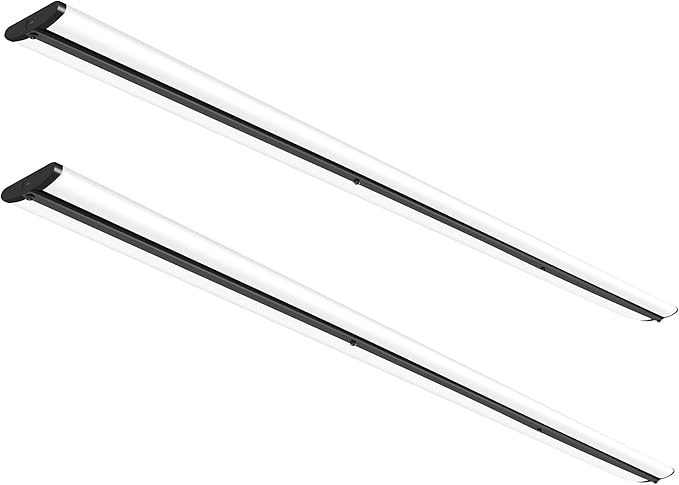
Why it’s collector-friendly: If you want a cleaner look, these flush-mount units provide even light without exposed tubes or wiring clutter. Ideal for show-style garages.
Task & Inspection Lights (For Swirls, Polish, and Coatings)
Astro Pneumatic Swirl Finder Light
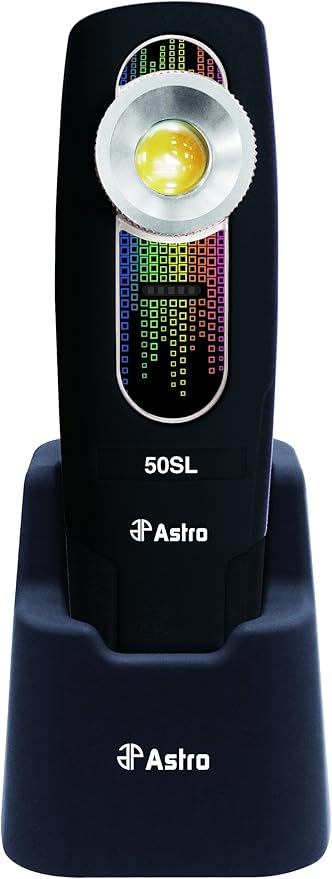
Why it’s essential: Portable, rechargeable, and tuned to highlight micro-swirls, coating high spots, and buffer trails. Every detailer uses one.
Scangrip MultiMatch R Detailing Light
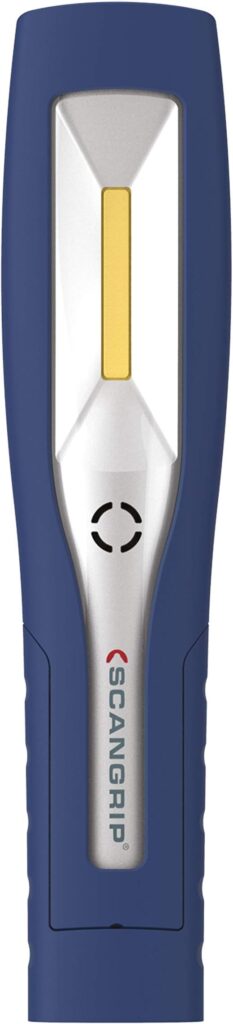
Why it’s elite: Dual-temperature (warm/cool) LED detailing light with variable output. Designed for paint correction workflows and color matching. Professional-grade gear.
Neiko Rechargeable Underhood LED Bar

Why it’s versatile: Expands up to 77″ wide and attaches to your hood or garage frame. Great for engine bay work, wheel wells, or general inspections.
Mounting Tools & Smart Add-ons
Adjustable Tripod Stand for Inspection Lights
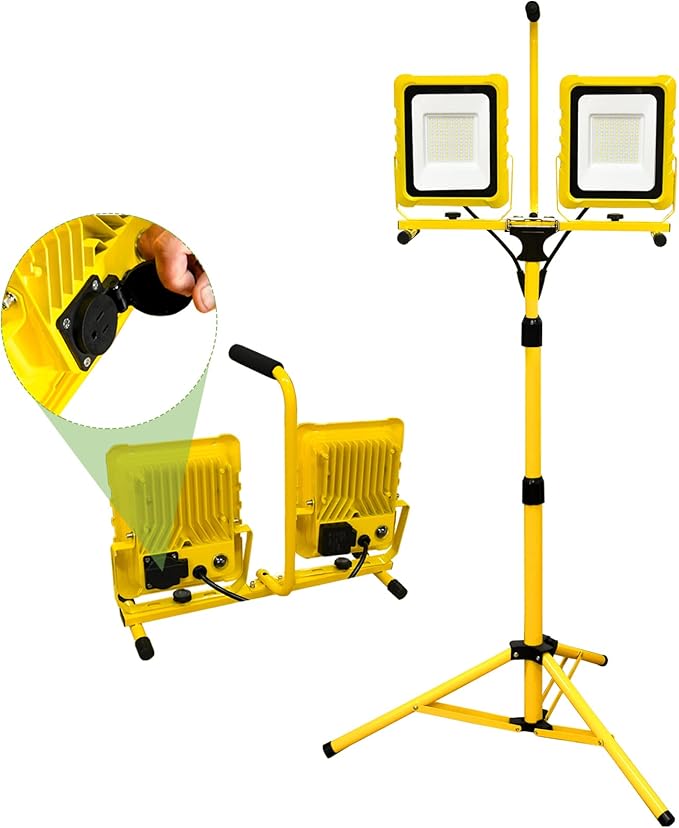
Why it’s helpful: Position your task lights at bumper, panel, or wheel height. Crucial when polishing or coating.
Remote-Controlled Smart Plugs (for Lighting Zones)
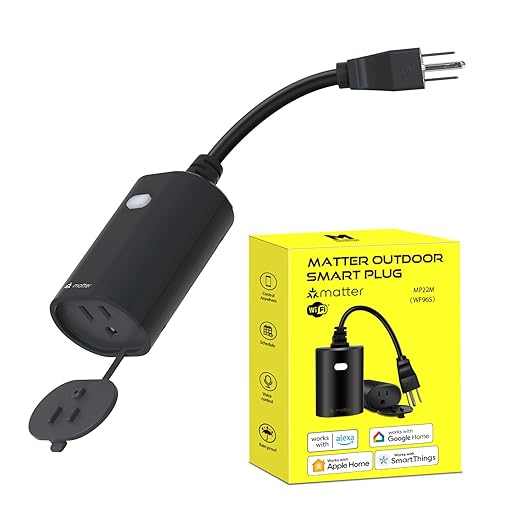
Why it’s smart: Set up “zones” for ceiling, wall, and task lighting. Turn on your detail lights or photo lights from your phone or voice assistant.
Placement Tips from the Pros
- Side walls > ceiling only: Most imperfections are visible from raking light—installed low and angled across panels.
- 5000K–6500K is ideal: Mimics natural daylight. Avoid warm/yellow bulbs which hide defects.
- No shadows, no hot spots: Distribute evenly. Don’t aim light directly down from overhead.
- Photographers take note: Combine diffuse overhead light with focused side lights for killer photos.
Final Word
If your paint looks perfect under bad lighting, it isn’t. Proper lighting not only improves your results, it sharpens your eye and raises your standard of care. Every swirl you missed, every coating you over-applied—it’s all visible once you light it right.
What’s your garage lighting setup?